One of my favorite things to do in the kitchen is to create candles. It makes the house smell wonderful, and I love to burn my own scents in my home throughout the year. Making a candle is not hard, but there was a bit of a learning curve before I got it right, so maybe this will help you skip the screwups.
You will need these supplies:
- Wax beads
- Wicks with wick tabs
- Double sided sticky foam, such as 3M mounting tape
- Essential oils
- Popsicle sticks or wick spacer
Shop for a melting container, wicks and wick spacer here at Pro Candle Supply. https://www.procandlesupply.com/pages/candle-making-supplies
I make my candles from soy wax that I purchase online. I have used beeswax in the past, which was neat because I was able to buy some from a local beekeeper. I found that beeswax burns more slowly but less evenly, so I ultimately stuck with soy wax. Prepackaged soy wax is also more convenient, as it does not have to be filtered.
First, measure out your wax into a metal melting container. Mine is a small metal pitcher made specifically for this purpose. A good rule of thumb for measuring wax is to fill your candle jar or tin twice and use that much. I stopped measuring this way because the wax left residue on my containers, and now I simply guess. Melting too much wax is better than melting too little because the extra can always be used for another candle.
Boil a small pot of water on the stove. You want a pot that is slightly larger than your melting container, and it should be filled about halfway. When your water is boiling, turn it down a notch, and place your melting container with the wax inside. The wax will take about 5 minutes to melt.
Choosing the fragrance is the part I like most. I am partial to honeysuckle and lavender, but some others that are nice to have are sandalwood, lemon, eucalyptus, sage, and bamboo. P&J Trading Co makes some delightful scents, such as rain and fresh cut grass. I generally choose 2-3 scents that compliment each other, like rain and honeysuckle or lemon and lavender.
When your wax is completely melted, add the oils you’ve chosen. Use A LOT. 50 drops will not hurt anything. If it smells strong, that is good because it will be milder once it hardens. Swirl the melting container around to mix. You can turn off the stove and leave the melting container with the wax and oils in the pot.
Prepare your candle jar or tin by placing two small bits of double sided foam in the bottom. You want them spaced from the sides of the container with plenty of room between each other so that your candle burns evenly. 8-12 oz candles can have two wicks, but anything larger may need more. Use your best judgment. Stick the wick tabs to the foam and apply pressure. You should be able to pull up on the wicks without them coming loose. Then thread your wicks through the wick spacer or use popsicle sticks to hold them in place.
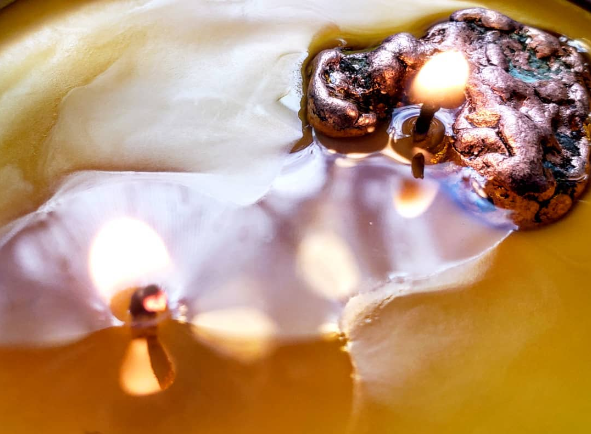
Now it’s time to pour the candle. Pour your wax slowly so as to not drip on the sides of your container. Leave a tiny bit of space at the top if your candle will have a lid so that your wicks don’t get smashed down. Set the candle with the wick spacer or popsicle sticks in a safe place to harden. The candle needs to be on a level surface with the wicks standing straight up. When the wax is opaque, you can trim down your wicks where they are just long enough to light.
And there you have it. No magic, just a little bit of skill and practice. A homemade candle makes a great gift, or you can hoard them for yourself. Enjoy!


Leave a comment